

I have had the flu all week and my voice is doing the whole raspy thing so I will spare you the video.
But I thought I could teach you a little something too.
You see, awhile back I came up with a clever way to organize the kids toys.
Then I procrastinated for awhile.
Tried one way and it didn't work well.
Came up with a plan B.
And now I will show you my amazing system to organize and store the kids toys. Something that will allow them to easily identify their toy storage so they can clean up their own room.
Too good to be true?
Let's find out!
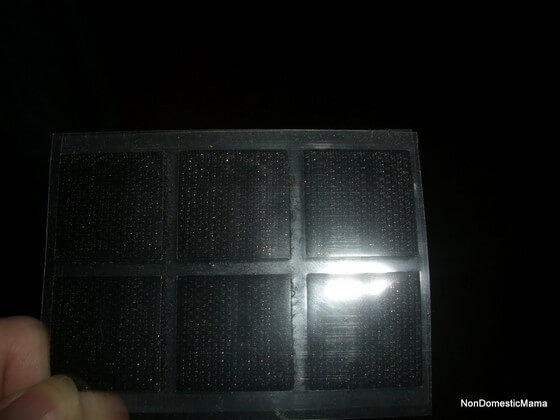
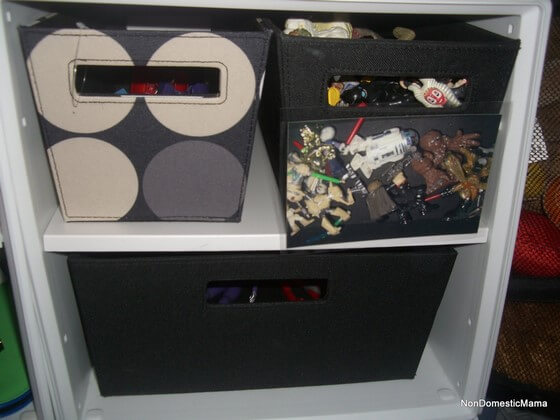
I started with several cubes from the Target Itso collection. I like these cubes better than the smaller cube shelf ones you see all the time because these are bigger. Also the cubes are plastic and snap together easily and come apart easily. This works well for us because we are frequently having to empty out the room when Gremlins attack. Also they are more water resistant.
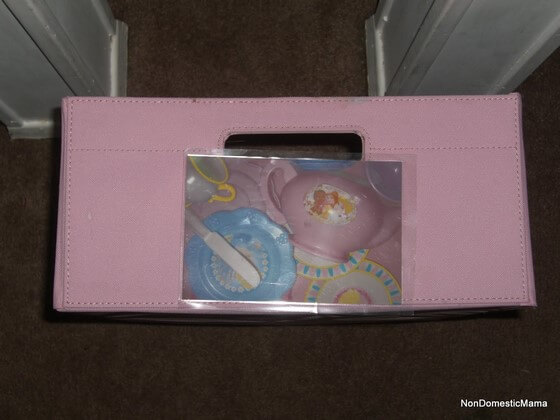
Fabric bins of various sizes and colors (Itso brand, the other brands are too small) work well in the cubes to sort toys into.

Obviously the bins need to be labeled.
But trying to write out cute little labels for the toys won't work well until my kids learn how to read.
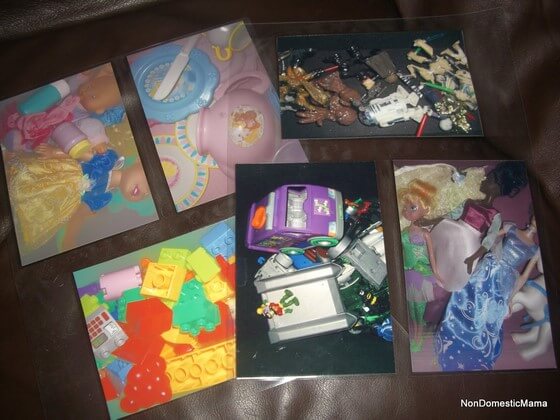
I thought about little picture labels but they needed to be really specific for the kids to see what kind of toy when into each bin.
Pictures... Hmm... Oh, photos. Right. That could work.
But how to attach the photos.
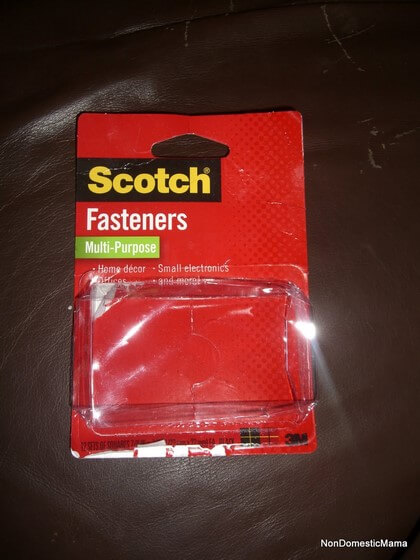
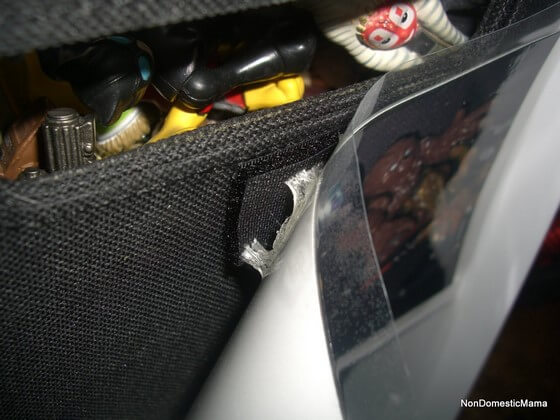
My first attempt was to simply scotch tape the pictures to the bins. That didn't hold. The pictures ended up falling off and getting destroyed or lost.
Plan B.
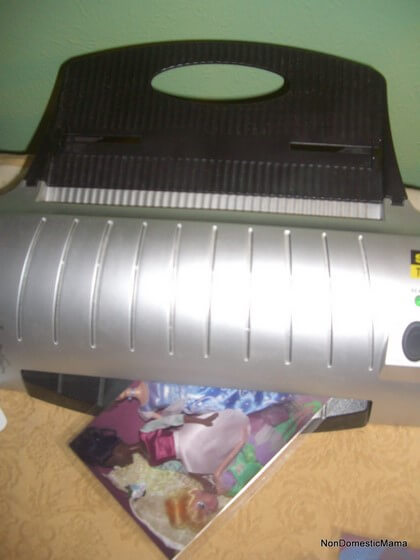
I needed a way to keep the pictures from getting bent up and destroyed so I thought I would laminate them.
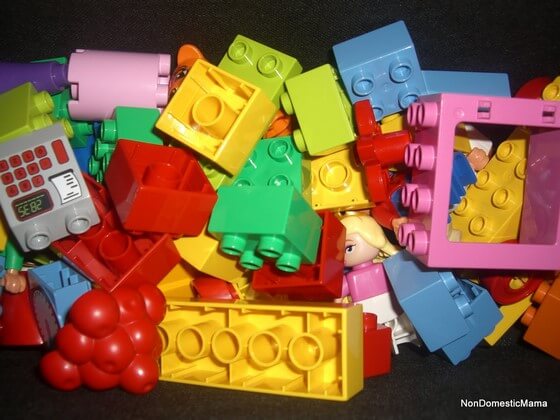
I decided that I didn't want anything too permanent. I wanted to be able to easily change the pictures out as their toys changed. I wanted to be able to move the Barbie collection to a bigger bin as it expanded or remove the Duplo photo if they grew out of them and replace it with Legos etc.
I can see it now. All the bins neatly labeled with all the toys in the proper storage compartments. Put there by two children eager to help clean now that they see how easy it can be.
Ready?
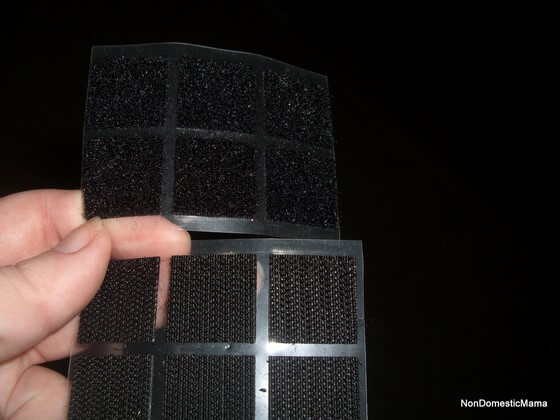
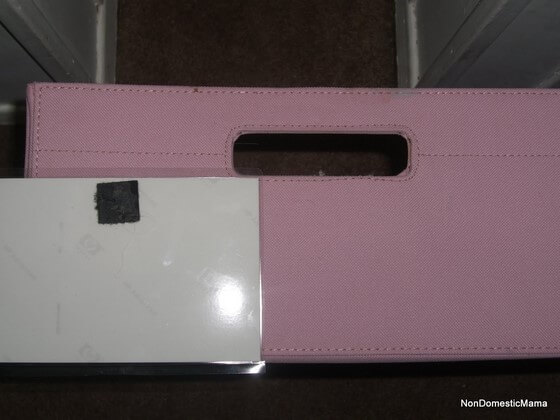
I simply remove the fastener from the plastic backing.
Just peel it right off the plastic backing.
PEEL. IT. OFF.
YANK. IT. OFF.
Wif my teef...
Pliers. I need pliers.
Right.
That was easy.
Now how do I get the glue off the plastic and back onto the back of the fastener?
Peel the sticky gooey glue blobs off the plastic and stick them back to the fastener.
Stick one side of fastener to the bin.
Repeat fastener plastic removal process.
Attach other fastener to photo.
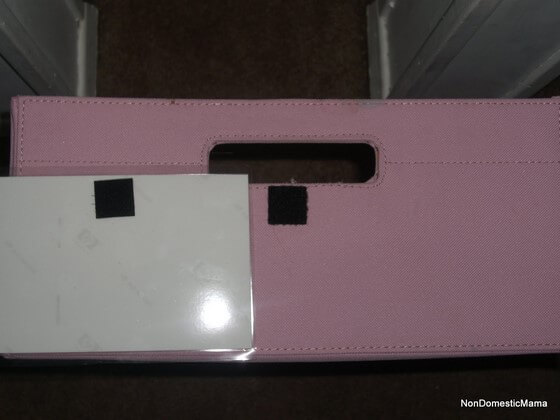
This will work well.
Plan C?

*This post may contain affiliate ads. Read my full disclosure here.